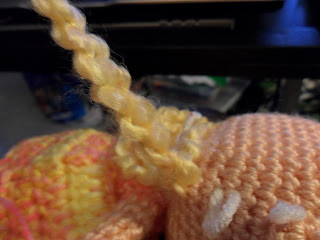
Welcome to the hair tutorial, Part 4.
This time we will just do photos with simple notes.
Take your time and please send those photos to share on our Little Pigtail Girl CAL group on Ravelry.
This time we will just do photos with simple notes.
Take your time and please send those photos to share on our Little Pigtail Girl CAL group on Ravelry.
 |
| Using Lionbrand Homespun for hair. Wrap around book or magazine for as much of the hair you want on the doll. |
 |
| Cut one side for this yarn , that is her long length for the pigtails. You decide your length if no pigtails;) |
 |
| I add a thick contrast yarn and map out the hair line around the head. |
 |
| I use at least 2 strands of yarn at a time which covers and gives a great hair line with a hook. |
 |
| I pull through the loop slowly, so as not to fray the yarn. Take your time and enjoy this part. |
 |
| The hair is now pulled throught the loop and you can see the length take shape. |
 |
| Her majesty sweetly waiting for her hair to be completed. |
 |
| She has stated that she wants to look like the poster girl but without bangs. I tied her hair up with yarn like a ponytail. |
 |
| This is how she looks and is very happy as you can see. She will be going on her trip to San Antonio, Tx soon with her new family. What a lucky girl! |
 |
| Thanks for sharing this CAL with us. We will be making more dolls with different types of hair , outfits and giveaways. Send us your photos on Ravelry. Stay tuned. |


çok sevimli..
ReplyDeleteShe is just adorable! I'm enjoying your blog.
ReplyDeleteBlessings!
Pamela
So cute, great tutorial on adding hair -Homespun looks fantastic!
ReplyDelete